Finished reading? Continue your journey in Tech with these hand-picked guides and tutorials.
Boost your workflow with our browser-based tools
Share your expertise with our readers. TrueSolvers accepts in-depth, independently researched articles on technology, AI, and software development from qualified contributors.
TrueSolvers is an independent technology publisher with a professional editorial team. Every article is independently researched, sourced from primary documentation, and cross-checked before publication.
Most Mac screenshot tutorials bury the most useful method under four others you'll rarely use. Command-Shift-4 with Control handles immediate sharing needs without cluttering your desktop, yet it's treated as an afterthought. Here's why this clipboard-first workflow should be your default, and when you actually need the alternatives.
Every Mac screenshot shortcut, by default, saves a PNG file to your desktop with a name like "Screenshot 2026-03-09 at 10.42.17 AM." Take five screenshots in a morning and you have five timestamped files sitting in your workspace. Take screenshots regularly for a month and the desktop becomes a minor archaeology project.
The filing-cabinet approach makes sense for one narrow use case: when you genuinely need to keep the screenshot. But the pattern we consistently found is that most captures are transient. You're grabbing an error message for IT support. You're clipping a chart to paste into an email. You're showing a friend something on screen. In every one of those cases, you need the image somewhere else immediately. You don't need a file on your desktop that you'll have to find, open, and then probably delete three days later.
This is the mismatch that most Mac screenshot tutorials paper over by listing five shortcuts at equal weight. The default workflow optimizes for archiving. Your actual workflow usually requires pasting.
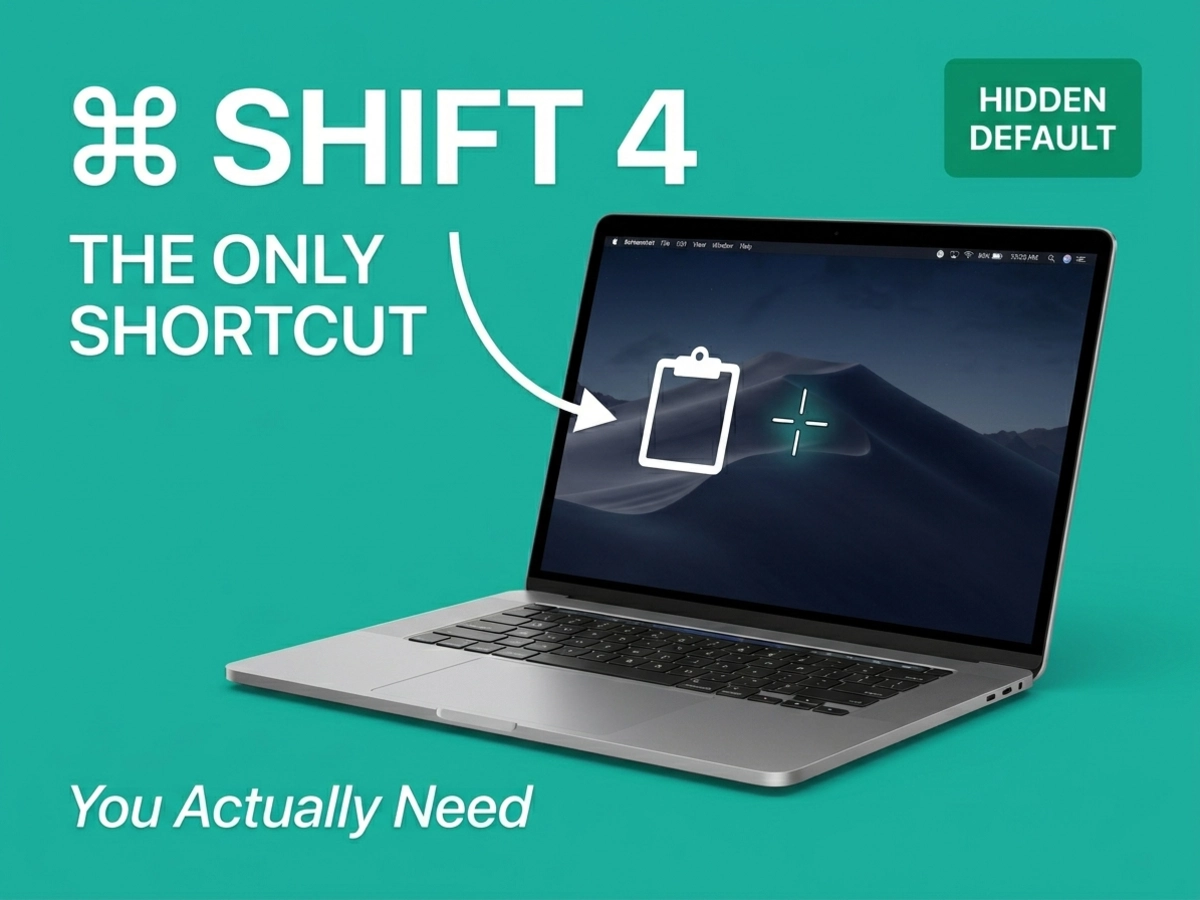
Adding Control to Shift-Command-4 changes everything about how that shortcut behaves. Instead of saving a file, Apple's documentation confirms the capture goes directly to your clipboard. The same modifier works with Shift-Command-3 for full-screen captures and with the spacebar window-capture mode. One key held down, and the entire workflow shifts from file-based to clipboard-based.
In practice: press Control-Shift-Command-4, drag the crosshair across the area you want, release, and paste immediately into Slack, email, a document, or any application that accepts images. Nothing appears on your desktop. No cleanup required. The image exists exactly as long as you need it.
The four-key combination is the most common complaint about this workflow, and it is genuinely a stretch when done quickly. There are two ways to resolve it. One is to remap the shortcut: System Settings > Keyboard > Keyboard Shortcuts > Screenshots lets you reassign any screenshot key combination to something more ergonomic. The other is more effective and more permanent: open the Screenshot app with Shift-Command-5, click Options, and set Save to: Clipboard as the default destination. After that change, Shift-Command-4 itself routes captures to the clipboard. You no longer need to hold Control at all.
The Clipboard default setting solves both the ergonomic friction and the workflow friction simultaneously, yet it appears in most guides as a footnote rather than a recommendation. That mismatch is the whole problem with how screenshot tutorials are typically structured — the single most useful configuration in macOS gets buried beneath a list of shortcuts that preserve the less useful default.
The clipboard approach fails in any situation where you need the screenshot to persist. Tutorials being built over multiple sessions, bug report archives, presentations assembled from a dozen screenshots across a week: all of these require actual files. The clipboard holds only your most recent copy operation. Paste something else and the screenshot is gone.
For those workflows, the file-saving approach has genuine advantages. Screenshots go to the desktop by default, making them easy to locate immediately after capture. If you prefer them elsewhere, the Screenshot app's Options menu lets you redirect to any folder. For users who accumulate screenshots regularly, creating a dedicated Screenshots folder and pointing the app there is worth the one-time setup. Spotlight indexes screenshot file names including the embedded date, so searching "screenshot march" pulls up captures from a specific period even when they're filed away.
Window-specific captures (Shift-Command-4, then Spacebar) are worth noting separately. The spacebar switches the crosshair to a camera icon, and clicking any visible window captures it with a drop shadow that makes the result look polished in documentation. Holding Option while clicking removes the shadow if you prefer a clean edge.
The floating thumbnail that appears briefly in the corner after every file-based capture is the feature most users treat as decoration. The floating thumbnail disappears in a few seconds, which is why most users treat it as decoration. Drag it directly into an application, though, and it achieves the same immediacy as clipboard capture — without committing the image to your clipboard or requiring you to navigate to the desktop file. For one-off pastes where clipboard-first wasn't set, the thumbnail window offers a short opportunity to skip the file retrieval step entirely.
Shift-Command-5 opens a visual toolbar with buttons for each capture type, a timer delay option, save location settings, and controls for mouse cursor visibility. For regular quick captures, this workflow is slower than direct keyboard shortcuts: you open the toolbar, select a mode, then execute the capture. Two interactions instead of one.
The Screenshot app's genuine value is screen recording, not still captures. The toolbar includes options for recording the entire screen or a selected region, with or without cursor movement visible. Nothing in the direct shortcut set handles video; Shift-Command-5 is the only native path to screen recording on macOS. The app launched with macOS Mojave 10.14 to consolidate capture and recording into a single interface, and that consolidation is where its logic lives.
The one context where the toolbar earns its extra click is multi-screenshot documentation sessions. Leaving the toolbar open means you can take capture after capture without reinvoking any shortcut. For someone walking through a ten-step process with a screenshot at each stage, this reduces repetition.
The Screenshot app is a screen recording tool that also handles still captures, not the other way around. Using it primarily for still screenshots means accepting interface overhead that keyboard shortcuts eliminate.
If you've tried to screenshot a frame from Netflix, HBO Max, Amazon Prime, or similar streaming services and gotten a blank black region instead of the image, this is not a shortcut misconfiguration. Since approximately 2023, major streaming platforms have implemented DRM-based screenshot blocking that intercepts the screen buffer before any software capture tool can read it, affecting all native screenshot methods regardless of which shortcut you use.
Third-party screenshot apps are subject to the same block. Changing shortcuts, adjusting settings, or using the Screenshot app instead of a keyboard shortcut produces the same result: the streaming video area of the screen captures as black or transparent. No tool combination resolves this.
The exact set of apps and browsers affected continues to evolve, and behavior can vary depending on the macOS version and platform policies at the time. Firefox has historically provided more permissive behavior than Safari or Chrome for web-based streaming in specific configurations, though this is not a reliable workaround. For content capture from streaming services specifically, native macOS tools have an intentional ceiling.
macOS provides three capture types natively: full screen, selected region, and selected window. It has no scrolling screenshot capability. A long webpage, an extended chat conversation, a full email thread: capturing any of these requires either multiple screenshots stitched together manually or a third-party tool.
Shottr is one option. The app registers a capture in 17 milliseconds with roughly 165 milliseconds to display the result, per its official performance specifications. Beyond speed, it includes scrolling capture, OCR for extracting text from screenshots, a pixel ruler, and annotation tools, all within a 2.3MB application built for Apple Silicon. Shottr moved from a free model to a paid one in late 2024; a commercial license runs $12 as a one-time purchase, with a 30-day trial before the license is required.
CleanShot X covers similar territory with a stronger focus on cloud sharing and GIF recording, available at $29 base or through a Setapp subscription. One non-obvious default worth noting: CleanShot X auto-deletes cloud-hosted videos after 24 hours unless you change the setting manually. The app is Mac-only.
For full-page web screenshots specifically, Firefox includes this natively. Right-click anywhere on a page, select Take Screenshot, then Save full page, and the browser captures the entire document without any extension or third-party tool.
If you're taking a handful of screenshots per week and sending them immediately, the native toolkit handles everything. The gap only becomes meaningful when you hit it repeatedly: long pages, extended threads, multi-step documentation where the content runs below the visible window. Most users don't need third-party tools until scrolling capture becomes a regular need. If you're evaluating whether a Mac hardware upgrade belongs in the same conversation as your workflow tools, the calculus for both follows similar logic: the M5 MacBook Pro's real-world speed gains matter only for specific creative workflows, just as third-party screenshot tools only earn their keep for specific capture needs.
Why aren't my screenshot shortcuts doing anything?
The most likely cause is that the shortcuts were disabled in System Settings. Navigate to System Settings > Keyboard > Keyboard Shortcuts > Screenshots and verify that the shortcuts you need are checked on. Updates and system changes occasionally disable them without warning. If shortcuts are enabled but still producing no output, certain applications block screenshot capture by design. Streaming apps with DRM protection are the most common example. A system restart resolves cases where the screenshot process has stalled for other reasons.
Can I make the Control+Shift+Command+4 combination easier to press?
Yes, and you have two options. The first is to remap the shortcut through System Settings > Keyboard > Keyboard Shortcuts > Screenshots. Double-click the shortcut field and type your preferred combination. The second is to set Clipboard as your default save destination in the Screenshot app (Shift-Command-5 > Options > Save to: Clipboard), after which Shift-Command-4 routes to the clipboard without the Control key. The second option is generally more sustainable, since it doesn't require relearning a new key combination.
What happens to a screenshot I copied to clipboard if I copy something else afterward?
It's gone. The clipboard holds only the most recent item. If you copied a screenshot and then copied a block of text, the screenshot is no longer accessible. For captures you might need beyond the immediate paste, use the file-saving workflow instead by omitting the Control modifier from your shortcut.
How do I take a screenshot of a full webpage or a long chat thread?
Native macOS tools don't support scrolling captures. For full-page web screenshots, Firefox includes a built-in option: right-click the page and select Take Screenshot, then Save full page. For non-browser content, third-party apps like Shottr or CleanShot X provide scrolling capture. The manual alternative is taking multiple screenshots and stitching them in an image editor, which is workable for short content and tedious for anything long.