Finished reading? Continue your journey in Dev with these hand-picked guides and tutorials.
Boost your workflow with our browser-based tools
Share your expertise with our readers. TrueSolvers accepts in-depth, independently researched articles on technology, AI, and software development from qualified contributors.
TrueSolvers is an independent technology publisher with a professional editorial team. Every article is independently researched, sourced from primary documentation, and cross-checked before publication.
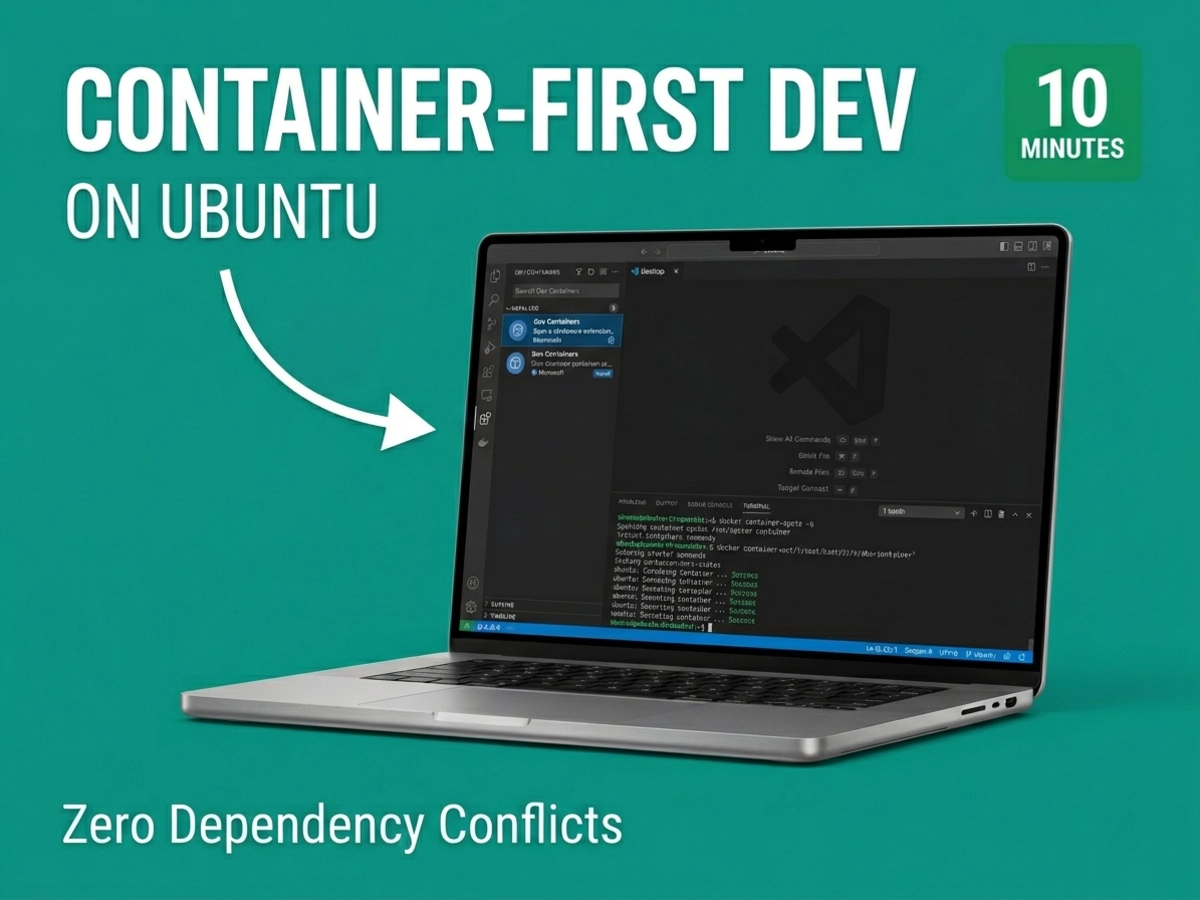
Container-based development eliminates dependency conflicts and system corruption while matching production environments exactly. Professional developers adopt this workflow because it cuts onboarding from days to minutes and makes "works on my machine" problems disappear. Here's how to build your bulletproof Ubuntu development environment using VS Code Dev Containers and Docker Desktop.
Setting up a development environment on Ubuntu has historically meant one thing: hours of dependency installation, version conflicts, and the quiet dread of onboarding a new teammate who will spend their first day debugging Python path issues instead of writing code. Container-first development solves this by turning the entire environment into versioned, reproducible code and adoption has crossed from "DevOps specialty" into baseline professional skill.
Docker's State of Application Development survey, covering over 4,500 developers and industry professionals, found container usage among IT professionals at 92%, up from 80% the prior year the single largest year-over-year gain of any technology tracked in the survey. In the same period, 64% of developers reported using non-local environments as their primary development setup, up from 36% in 2024.
Separately, the Stack Overflow 2025 Developer Survey of 49,000 respondents across 177 countries found Docker's overall adoption at 71.1%, a 17-percentage-point jump representing the largest single-year increase of any of the 314 technologies surveyed.
The 92% headline figure describes IT and SaaS professionals specifically — a segment where microservices architecture is common and containers are nearly mandatory infrastructure. Across all industries, adoption sits at roughly 30%. The gap is not ignorance; it is architecture. Developers building traditional monolithic applications or working solo on simple projects face a different cost-benefit calculation than teams shipping microservices to cloud infrastructure.
What drove the genuine shift is a combination of distributed teams, production parity requirements, and a change in default expectations. When a new developer joins a team today, spending days configuring their local environment is increasingly seen as an organizational failure, not a rite of passage. Containers turned environment setup from fragile documentation into reproducible code. That shift, more than any vendor push, explains the adoption trajectory.
Three components form the professional container-first setup: Docker Desktop as the container runtime, the VS Code Dev Containers extension as the IDE bridge, and a devcontainer.json file as the configuration manifest that ties them together.
Docker Desktop bundles Docker Engine, the Docker CLI, Docker Compose, and container management tools into a single installable package. On Ubuntu, it runs directly against the Linux kernel rather than inside a virtual machine layer, which matters for performance and production parity. Configuration and settings live in a GUI that runs in the background; the whale icon in your system tray indicates it is running.
The VS Code Dev Containers extension handles everything between your editor and the container. Open a project folder, and the extension reads the .devcontainer/devcontainer.json file, builds or pulls the container image, mounts your project files, and connects VS Code to the running container. The result looks identical to local development: IntelliSense works, the debugger works, extensions work. The difference is that every tool executes inside the container, not on your Ubuntu host.
The devcontainer.json file is the environment specification for your project. It can be as minimal as pointing to a pre-built base image or as detailed as defining a multi-service Docker Compose setup. Key properties include image or build (what container to use), postCreateCommand (commands to run after container creation, such as npm install), customizations.vscode.extensions (which VS Code extensions to install inside the container), containerEnv (environment variables), and remoteUser (which user VS Code runs as inside the container).
This file is not a VS Code proprietary format. The Dev Container Specification is maintained as an open standard at containers.dev, and the same devcontainer.json works in GitHub Codespaces, JetBrains IDEs, CodeSandbox, and DevPod. Writing a well-configured devcontainer.json once gives a team local Docker development, cloud-based GitHub Codespaces for onboarding, and cross-IDE compatibility simultaneously. That portability is consistently undervalued — the investment pays back at a multiplier most tutorials fail to communicate.
Before starting, confirm your system meets the minimum requirements: an x86-64 machine, Ubuntu 22.04 or 24.04, at least 4 GB RAM, and QEMU version 5.2 or newer. Docker Desktop does not support ARM Ubuntu or the snap package of Docker.
The official install instructions work on Ubuntu 22.04 but produce a dependency error on Ubuntu 24.04 unless two prerequisites are handled first. Most beginner tutorials skip both. Here is the complete sequence that works reliably on both LTS versions.
Step 1: Add Docker's apt repository
Docker Desktop's .deb package requires docker-ce-cli as a dependency. Without Docker's apt repository configured, installing the .deb directly fails with a dependency resolution error. Run these commands to add the repository:
sudo apt-get update
sudo apt-get install ca-certificates curl
sudo install -m 0755 -d /etc/apt/keyrings
sudo curl -fsSL https://download.docker.com/linux/ubuntu/gpg -o /etc/apt/keyrings/docker.asc
sudo chmod a+r /etc/apt/keyrings/docker.asc

echo "deb [arch=$(dpkg --print-architecture) signed-by=/etc/apt/keyrings/docker.asc] \
https://download.docker.com/linux/ubuntu \
$(. /etc/os-release && echo "$VERSION_CODENAME") stable" | \
sudo tee /etc/apt/sources.list.d/docker.list > /dev/null

sudo apt-get update
Step 2: Apply the Ubuntu 24.04 AppArmor fix (Noble only)
Ubuntu 24.04 introduced a kernel-level AppArmor restriction on unprivileged user namespaces. Docker Desktop requires this feature to run rootless containers. Without the fix, Docker Desktop fails to launch on Noble with no clear error message. Apply the permanent fix before proceeding:
echo 'kernel.apparmor_restrict_unprivileged_userns = 0' | \
sudo tee /etc/sysctl.d/20-apparmor-donotrestrict.conf
Then reboot. On Ubuntu 22.04, skip this step entirely.
Step 3: Download and install Docker Desktop
Download the latest .deb package from Docker's official site. The current release, which bundles Docker Engine 28.4.0 and Docker Compose v2.39.4, installs the full container stack in a single package confirm the version number at Docker's download page before installing, as releases update regularly. Then install it:
cd ~/Downloads
sudo apt-get install ./docker-desktop-amd64.deb
A permission warning appears at the end of installation. This is expected behavior and can be ignored.
Step 4: Add your user to the docker group
sudo usermod -aG docker $USERSign out and back in for this to take effect. Without this step, the VS Code Dev Containers extension cannot communicate with Docker without elevated privileges.
Step 5: Launch Docker Desktop
Open Docker Desktop from your application menu. The first launch presents the Docker Subscription Service Agreement. After accepting, Docker Desktop starts in the background. The animated whale in your system tray means it is still initializing; a static whale means it is ready.
Step 6: Install the Dev Containers extension
Open VS Code and press Ctrl+Shift+P to open the Command Palette. Search for "Extensions: Install Extensions," then search for "Remote Development" and install the extension pack published by Microsoft. This installs the Dev Containers extension along with SSH and WSL extensions.
The VS Code status bar in the lower-left corner now shows a remote connection indicator. When you connect to a container, it displays the container name there.
Step 7: Create a devcontainer.json for your project
Open your project folder in VS Code. Press Ctrl+Shift+P and type "Dev Containers: Add Dev Container Configuration Files." Select a base template matching your language or stack. For a general Ubuntu container, choose the Ubuntu option and select Ubuntu 24.04 (Noble). VS Code writes a .devcontainer/devcontainer.json file and optionally a Dockerfile to your project.
Step 8: Open your project in the container
Press Ctrl+Shift+P and select "Dev Containers: Reopen in Container." VS Code reads your devcontainer.json, builds or pulls the container image, and connects the editor to the running container.
The first time VS Code builds a container, it pulls the base image and installs any tools configured in the Dockerfile or postCreateCommand. Depending on the image size and internet speed, this takes anywhere from two to fifteen minutes. Do not close VS Code — a progress notification in the lower-right corner shows build output. Every subsequent time you open the same container, it starts in seconds from the cached image. The long first build is a one-time cost.
Once connected, the status bar shows the container name. Open a terminal in VS Code and it opens inside the container. Your project files are mounted; changes you make in VS Code appear immediately inside the container and vice versa.
The choice of what belongs in the Dockerfile versus postCreateCommand is the single highest-leverage optimization separating teams with near-instant container starts from teams that wait minutes for every rebuild.
The distinction comes down to Docker's layer caching system. When Docker builds an image from a Dockerfile, each instruction creates a cached layer. If nothing in that instruction changed, Docker reuses the cached layer rather than running the step again. Tool installations Node.js, Python, system packages, build dependencies belong in the Dockerfile because they change rarely. Once cached, rebuilding the image skips those layers entirely.
postCreateCommand runs after the container is created, against your live workspace files. It does not benefit from layer caching because it executes at container creation time, not at image build time. This makes it the right place for workspace-specific setup: npm install, pip install -r requirements.txt, database migrations, or shell scripts that depend on files in your repository. These run once per container creation, not on every subsequent start.
The lifecycle hook order matters for debugging. Docker executes hooks in this sequence: initializeCommand (on the host, before container creation), onCreateCommand (first creation only), postCreateCommand (after container assignment), then postStartCommand on every container start. If any hook exits with a non-zero code, subsequent hooks are skipped. When a container configuration appears to stop partway through setup, a failed postCreateCommand script is usually the cause.
For parallel setup steps, the object syntax runs commands simultaneously:
"postCreateCommand": {
  "deps": "npm install",
  "db": "npx prisma migrate dev"
}Projects requiring a database, cache, or other backing services use Docker Compose integration. Create a docker-compose.yml at your project root defining the application container and its services. In devcontainer.json, reference it with the dockerComposeFile property and specify which container VS Code should connect to using the service property:
{
  "dockerComposeFile": "docker-compose.yml",
  "service": "app",
  "workspaceFolder": "/workspace"
}
This pattern mirrors production architecture directly in your development environment. PostgreSQL, Redis, or any other service defined in the Compose file starts alongside the application container. Connection strings configured in containerEnv or a .env file are available inside the container exactly as they would be in a deployed environment.
Container-first development on Ubuntu has a genuine advantage over the same setup on macOS or Windows: Docker runs directly against the Ubuntu kernel rather than inside a Linux virtual machine layer. Most production cloud environments use Ubuntu or Debian base images, so the container running on your Ubuntu laptop is architecturally closer to what runs in production than a container running on macOS or Windows. That native kernel alignment is an underappreciated benefit, particularly for teams shipping to AWS ECS, Google Cloud Run, or Kubernetes clusters.
That native advantage does not eliminate trade-offs. Containers share the host kernel, which means they cannot emulate a different CPU architecture. Testing ARM behavior requires ARM hardware or a proper emulator, not a container. macOS application development cannot be containerized because no official macOS container image exists. And systemd services inside containers require additional configuration that goes beyond standard devcontainer.json setup.
Resource usage is real. Each container typically consumes 200–500 MB of RAM on top of Docker Desktop's own footprint. Systems with 4 GB of RAM can run a development container, but running multiple containers simultaneously or a Docker Compose stack with several services becomes constrained. The 4 GB minimum is a floor for single-container work; 8 GB or more gives comfortable headroom for realistic multi-service development.
For solo developers on simple projects with stable, well-known tooling, traditional local setup is genuinely faster to start with. Developers newer to Linux development may also benefit from understanding how a well-configured Linux environment accelerates the learning curve before adding the container layer on top. The container-first workflow earns its overhead on team projects where environment consistency across developers eliminates a whole category of debugging, on projects that juggle multiple language versions, and on any setup where new contributors need to be productive on day one.
The setup described here takes under 10 minutes of active configuration. AppArmor configuration applies specifically to Ubuntu 24.04 Noble; behavior on future Ubuntu releases may differ.
Can I use Docker Engine instead of Docker Desktop?
Yes. The VS Code Dev Containers extension works with Docker Engine (the CLI-only version) as well as Docker Desktop. Docker Engine is free for all use cases; Docker Desktop requires a paid subscription for companies with more than 250 employees or over $10 million in revenue. If you install Docker Engine directly, skip the Docker Desktop steps and install docker-ce, docker-ce-cli, and containerd.io from Docker's apt repository instead.
Why can't I install Docker via snap?
The VS Code Dev Containers extension cannot communicate with the snap-sandboxed Docker installation due to filesystem permission restrictions that snap enforces. Install Docker from Docker's official apt repository as described above; that version works without modification.
Does this setup work with ARM Ubuntu (Raspberry Pi, ARM laptops)?
Docker Desktop for Ubuntu only supports x86-64 systems. On ARM Ubuntu, Docker Engine runs natively and the Dev Containers extension works, but Docker Desktop's GUI is not available. ARM-based container development is fully functional through the CLI and VS Code Dev Containers extension without Docker Desktop.
Can my teammates use Windows or macOS with the same devcontainer.json?
Yes. Because the devcontainer.json spec is platform-independent, a teammate on macOS or Windows with Docker Desktop and the VS Code Dev Containers extension opens the same container from the same configuration file. The container environment is identical regardless of host OS. This is the core cross-platform portability argument for writing a good devcontainer.json on your Ubuntu setup.
What if I want to use this in GitHub Codespaces instead of locally?
The same devcontainer.json file controls the GitHub Codespaces environment. Push your repository with the .devcontainer folder included, and opening the repository in Codespaces uses your configuration automatically. No changes to the file are needed.